Friday, April 9, 2010

These are the bases with the textured urethane sprayed on. After the first seal coat I scuff sanded with 320 grit and painted them black with 2k urethane sealer tinted black with 844 Degaussa UTC. As soon as the black flashed I sprayed a clear coat of sealer over the black so I don't get black dust when I sand. :P
After another 320 scuff sand I spray a full coat of flat 2k urethane topcoat and let it dry about 1/2 hour. The final step is to mix a small batch of semi-gloss 2k urethane and spray it out of my gravity feed SATA cup. The trick is to keep the atomizing air pressure as low as you can so you just get speckles. A little more or less air varies the size of the texture.

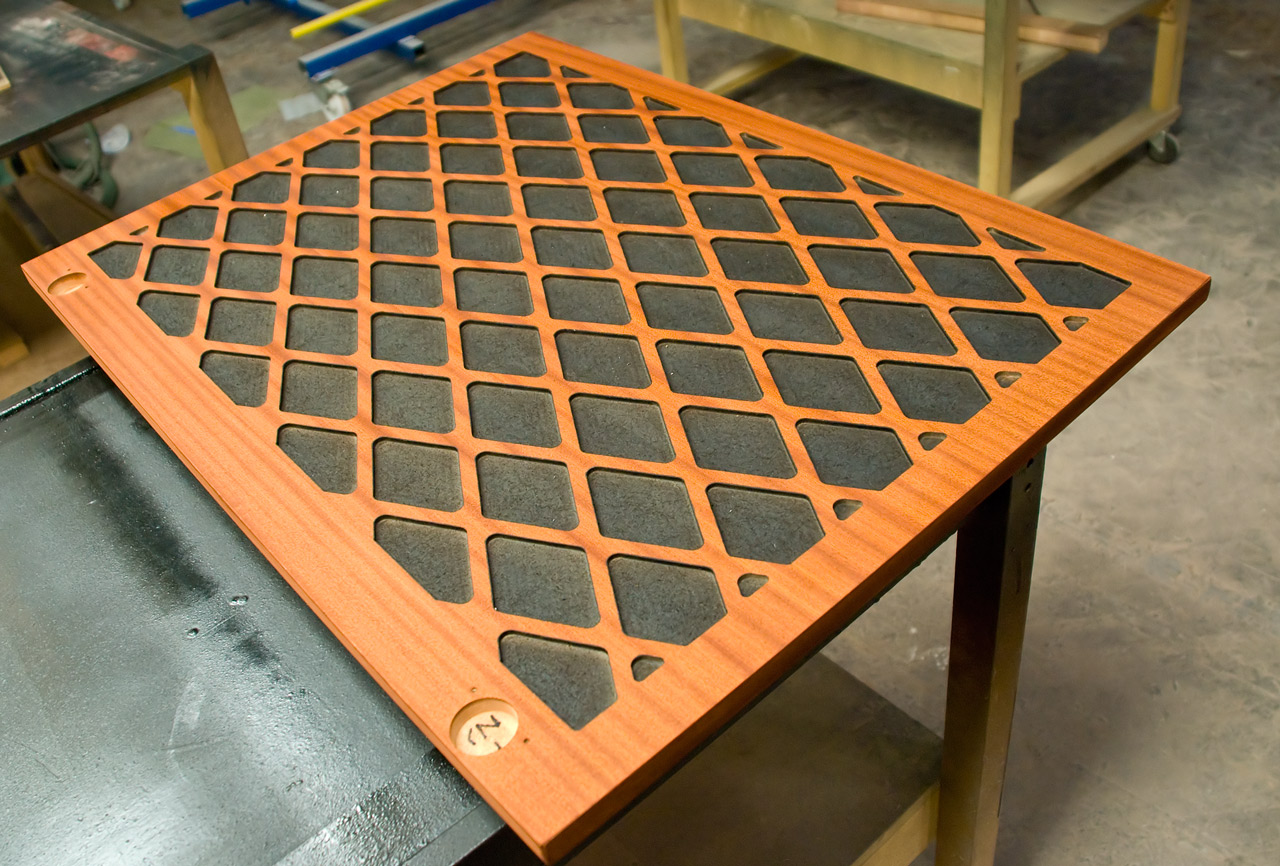
I got the doors for the bookcases today. The backs were relieved on the CNC to balance the laser carving on the front. I have to paint all of the carved out sections black. :P


I had the shop cut 2 templates for each size door out of mdf. I just spring clamped them to the back of the doors after lining them up.

Then a thin sealer tinted black sprayed into all the holes.
They actually came out really nice and it went much faster than I thought.

These are the four doors for one of the wide book cases. I always lay them out in order to stain them so there is no variation in color. I stain the face and edges first and then seal the faces only. Then I can flip them over, stain the back and make sure the edges are good with out worrying about getting stain on the front.

This is an upper cabinet for one of the wide bookcases.


I stain each interior opening first. I spray the water stain on wet and wipe dry with a rag. After blowing the corners dry I spray a shade coat of stain over the whole thing just to get everything evened out and make sure the color is right.

With water stain on interiors of cabinets it is VERY important to use an air nozzle and blow dry the corners. If I left this wet like this it would be darker where the water stain stays wet longer.

The carving on the front with stain and sealer.

The backs with stain.

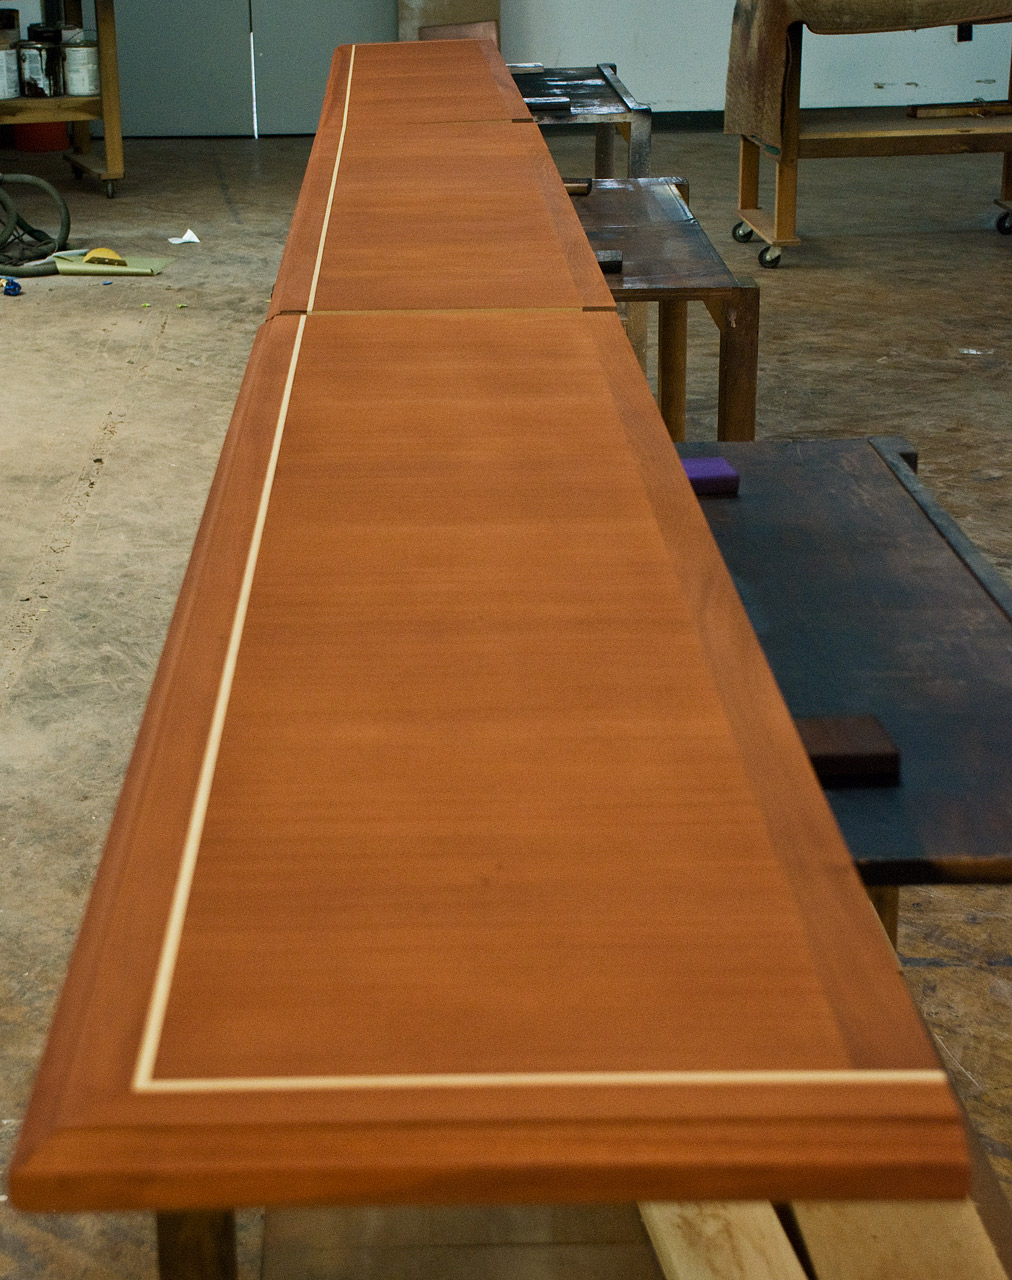
All the bookcases stained and sealed. The blue tape is on because I pre-sealed the brackets so I could do a little faux graining on the raw mdf edges and I didn't want to build up the sealer more than on the casework. They just have base color on the edges now.

Bookcase doors all stained and sealed both sides.


Wednesday, April 7, 2010

I sprayed sealer on the mdf bases today. You can see how nice the edges come out with the glue size.


These are the parts to the conference table base. I got them all stained today, they will be ready for sealer and top coat tomorrow.

 These are the access panels for the conference table base.


Tuesday, April 6, 2010

Monday I started off by staining the bottom of the counter tops and sealing them well so they don't warp later. Nothing under here will show except a little of the solid edge.
They have been busy cutting the design into the door panels with the laser. Here are some of them ready for sanding
 
 These are the doors for the credenza.
 Cabinet boxes for the credenza. These are all built out of pre-finished ply. 

Here is a close up of the laser cut door design.

This is two pictures of the same sample panel from different angles. I took this to show the chatoyancy of the dye stain which is hard to see in a photo. Notice the difference in the color of the solid wood. In the photo on the left it looks much lighter on the right it matches perfectly. This is the way wood looks when finished naturally and I think it should look that way stained as well.

I always lay out any panels in their proper order before staining. This assures I don't get variations in the color. This is the conference table it is done exactly the same way as the counter tops so I won't go over the same info.

Conference table panel after sealing.

After the sealer dried the panels are flipped over and stained. I will seal and finish the underside of all the panels.

The bases of the conference table will have these supports which will be painted black and textured with urethane. On the raw mdf edges I am applying a glue size with a chip brush and a rag. The glue is just white carpenters glue mixed 1:1 with water, after the glue dries I hand sand with 220 grit sandpaper and seal everything.

Sunday, April 4, 2010

I started a new project on friday. It consists of a long credenza, 2 large bookcases, 1 small bookcase and a large conference table. The veneer on this job is sapeli, Honduras mahogany solid with a maple inlay. The client wants the maple inlay stained yellow so the maple must be masked off before spraying the water stain. (This would also be the technique if you wanted the inlay left natural) I used 3M fine line tape burnished to the raw maple. The tape must be removed the same day.


The mahogany stain is WD Lockwood water based dye stain.
The formula is:
24 oz hot water
1 teaspoon #5230 Lemon Yellow
1/2 teaspoon #52 conc. bright red
1/2 teaspoon #57 Chippendale red brown

This is a picture just after the water stain was sprayed on, notice the slight puddling.


The top on the right has water stain sprayed on it and is almost dry.


The cabinet makers chipped the veneer and tried to fix it using bondo. Bondo doesn't stain when using water stain so now I need to camouflage their repair.


I like Stabilo 8045 pencils (china markers) for this. I use black or brown most of the time. Mohawks blendal sticks work well also.


This is the counter top for the long credenza. You can only check your color when the water stain is wet or after it has been sealed. ( A little solvent will also work in a pinch)


The tape has been removed from the maple after sealing the mahogany. Since I am using water stain I can stain the maple now without masking.


Even with burnishing, since I am working on un-sealed wood, there will be some bleed through of the stain. I use a razor blade as a scraper and remove any of this.


This is after the yellow stain has been applied to the maple inlay.
The yellow stain formula is:
1 quart hot water
1 teaspoon #5230 Lemon Yellow WD Lockwood water based dye stain


Everything has a coat of sealer in this picture.


There are a lot of shelves on this project. This is one of the drying racks that allow me stain and finish all of the shelves at once and it also keeps dust out of the finish while drying.